

Juicy & Flavorful: Best Steak Cooking Methods
Craving the perfect steak? Forget the steakhouse – this guide shows you how to cook restaurant-quality steak at home, every time. Whether you’re a novice cook or a seasoned home chef, mastering the best steak cooking methods will elevate your culinary game to new heights.
This is the ultimate guide to steak cooking methods, covering everything from choosing the right cut to achieving your desired level of doneness. Too often, home cooks struggle with common pitfalls: overcooked, tough meat; uneven cooking that leaves you with a steak that’s charred outside but raw inside; or the disappointing absence of that perfect, flavorful crust. Consider those problems solved – we’re about to transform you into a steak cooking expert.
Table of Contents
Choosing the Right Steak Cut
The journey to the perfect steak begins with selecting the right cut. Each type offers unique flavor profiles, tenderness levels, and fat content that influence which cooking method works best.
Ribeye
- Flavor Profile: Rich, buttery, intense beef flavor
- Tenderness: Very tender due to abundant marbling
- Fat Content: High marbling throughout
- Best Cooking Methods: Pan-searing, grilling, reverse sear
- Why We Love It: The ribeye’s exceptional marbling creates a self-basting effect during cooking, resulting in a juicy, flavorful steak every time.
Filet Mignon
- Flavor Profile: Mild beef flavor, subtle and delicate
- Tenderness: Extremely tender – “the butterknife steak”
- Fat Content: Very lean with minimal marbling
- Best Cooking Methods: Pan-searing with butter basting, sous vide
- Why We Love It: Though less flavorful than other cuts, the filet’s unmatched tenderness makes it a luxury choice for special occasions.
New York Strip
- Flavor Profile: Bold, beefy flavor
- Tenderness: Moderately tender with slight chew
- Fat Content: Moderate marbling with fat cap on one side
- Best Cooking Methods: Grilling, pan-searing, broiling
- Why We Love It: The strip offers an excellent balance of flavor and tenderness, making it versatile and reliable.
Sirloin
- Flavor Profile: Robust beef flavor
- Tenderness: Less tender than premium cuts but still enjoyable
- Fat Content: Leaner with less marbling
- Best Cooking Methods: Grilling, broiling
- Why We Love It: Sirloin delivers excellent flavor at a more affordable price point.
Flank & Skirt Steak
- Flavor Profile: Intensely beefy, distinctive flavor
- Tenderness: Naturally tough but delicious when properly prepared
- Fat Content: Lean with visible grain
- Best Cooking Methods: Hot and fast grilling, marinating first
- Why We Love It: These cuts offer tremendous flavor and respond beautifully to marinades. When sliced correctly (against the grain), they deliver a delicious and economical steak experience.
Essential Equipment
Having the right tools on hand makes achieving steakhouse-quality results at home much easier:
Must-Have Equipment:
- Cast Iron Skillet: Retains and distributes heat evenly for perfect searing
- Good Quality Tongs: For flipping without piercing the meat
- Instant-Read Meat Thermometer: The most reliable way to check doneness
- Cutting Board: Preferably with a juice groove to catch drippings
- Sharp Knife: For clean cutting that preserves juices
Optional but Beneficial:
- Sous Vide Machine: For precise temperature control
- Grill: Gas or charcoal for that distinctive flavor
- Smoker: For adding another dimension of flavor
- Cooking Timer: To track cooking times accurately
- Meat Weights: To ensure even contact with the cooking surface
Steak Preparation (The Pre-Cook Checklist)
Thawing
Proper thawing is crucial for even cooking. Never cook a partially frozen steak, as this leads to inconsistent results.
Recommended Methods:
- Refrigerator Thawing: Place frozen steak in the refrigerator 24-48 hours before cooking (depending on thickness). This slow thaw preserves quality.
- Cold Water Bath: For faster thawing, submerge the vacuum-sealed steak in cold water, changing water every 30 minutes. A 1-inch steak typically thaws in about an hour.
Patting Dry
Always thoroughly pat your steak dry with paper towels before cooking. This seemingly simple step is critical for achieving a proper seal. Moisture on the surface will create steam, preventing the Maillard reaction that creates that coveted brown crust.
Salting (Dry Brining)
Salting your steak well in advance (ideally 40 minutes to 24 hours) dramatically improves flavor and texture through a process called dry brining.
“Salting your steak isn’t just about flavor—it’s about transforming the meat’s structure to retain moisture during cooking.”
The Science: Salt first draws moisture out of the steak, then dissolves in this moisture to create a brine. This brine is reabsorbed into the meat, seasoning it throughout while helping it retain moisture during cooking.
Timing Options:
- Right Before Cooking: Good
- 40 Minutes to 2 Hours Before: Better (allows for full brine absorption)
- 24 Hours in Advance (Refrigerated): Best (deepest flavor penetration)
Seasoning
While quality steak needs little enhancement beyond salt and pepper, various seasoning options can complement different cuts:
Classic Approach:
- Coarse kosher salt
- Freshly ground black pepper
- Applied after patting dry
Enhanced Options:
- Garlic powder, onion powder, or crushed dried herbs
- Pre-made steak rubs (look for those without excessive sugar content)
- Compound butter for finishing (herb butter, blue cheese butter)
Bringing to Room Temperature
Allowing your steak to rest at room temperature for 30-60 minutes before cooking promotes more even cooking from edge to center.
Benefits:
- Reduced cooking time
- More even doneness
- Better sear (dry surface)
Note: Food safety experts suggest limiting room temperature exposure to no more than two hours.
The Core: Detailed Cooking Methods
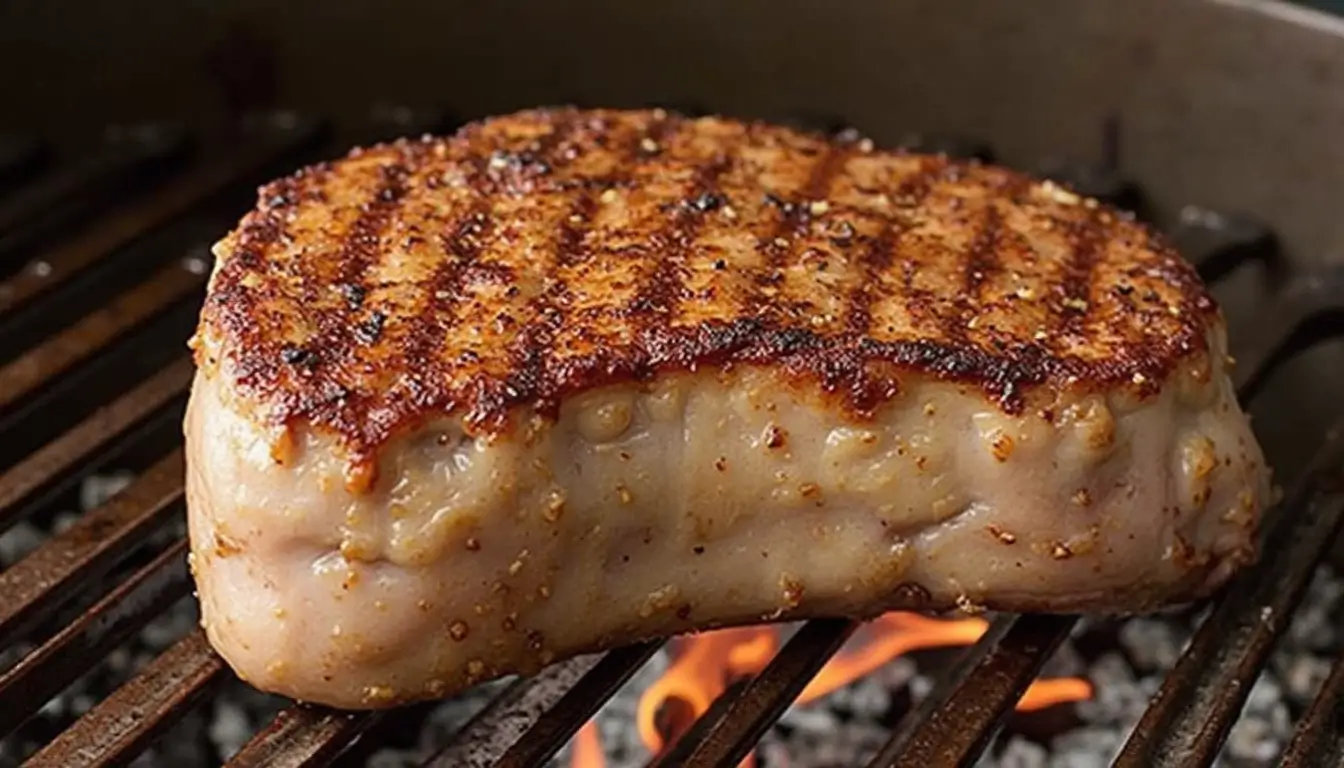
Pan Searing
Pan searing is perhaps the most versatile and accessible method for cooking the perfect steak at home. This technique creates a flavorful crust through the Maillard reaction while maintaining a juicy interior.
Step-by-Step Instructions:
- Preheat your skillet: Heat a cast-iron skillet over high heat until it’s smoking hot (about 5-10 minutes).
- Add high-smoke-point oil: Add a thin layer of avocado, grapeseed, or canola oil.
- Place steak in pan: Carefully lay the steak in the hot pan (away from you to prevent oil splatter).
- Don’t disturb: Allow steak to cook undisturbed for 3-4 minutes (for 1-inch thick steak) to develop crust.
- Flip once: Turn the steak only when it releases easily from the pan.
- Add flavor enhancers: Add butter, garlic cloves, and fresh herbs during the final minutes.
- Baste: Tilt the pan and spoon the melted butter over the steak repeatedly.
- Check temperature: Use a meat thermometer to verify doneness.
- Rest: Transfer to a cutting board to rest.
Troubleshooting:
- Sticking to the pan? Your pan wasn’t hot enough before adding the steak.
- Too much smoke? Your heat is too high, or you’re using an oil with a low smoke point.
- Burning exterior before interior cooks? Your steak is too cold or too thick for this method alone.
Grilling
Grilling imparts a distinctive smoky flavor that many steak enthusiasts consider essential.
Grilling Methods:
Direct Heat Grilling:
- Preheat grill: Heat to high (450-500°F).
- Create temperature zones: Keep one area at direct high heat, another at medium.
- Sear over high heat: Place the steak on the hottest part of the grill.
- Flip and move: After achieving grill marks (2-3 minutes), flip and move to medium heat to finish.
- Rest: Remove when internal temperature is 5°F below target.
Two-Zone Grilling (for thicker steaks):
- Create two distinct zones: One side with direct heat, one side with no heat.
- Start with indirect heat: Cook with lid closed until about 15-20°F below target temperature.
- Finish with direct heat: Sear over direct heat to develop a crust.
Charcoal vs. Gas:
- Charcoal: Provides superior flavor but requires more skill to maintain a consistent temperature
- Gas: Offers convenience and temperature control, but less smoky flavor
Reverse Sear
The reverse sear has revolutionized home steak cooking by delivering restaurant-quality results with remarkable consistency.
The Science: By starting with gentle heat and finishing with high heat, reverse searing allows for more precise doneness while still developing a perfect crust.
Step-by-Step Instructions:
- Preheat oven: Set to 275°F.
- Prepare steak: Season and place on a wire rack over a baking sheet.
- Slow cook: Bake until internal temperature reaches about 15°F below your target doneness (usually 30-45 minutes for a 1½-inch steak).
- Rest briefly: Remove from oven and rest for 5-10 minutes.
- Sear hot and fast: Heat a cast-iron skillet until smoking, then sear steak for 45-60 seconds per side.
- Rest again: Allow to rest for 5-10 minutes before slicing.
Advantages:
- Exceptional edge-to-edge consistency
- Better moisture retention
- More precise temperature control
- Reduced stress about timing
Sous Vide
For the ultimate precision in doneness, sous vide cooking is unmatched.
Process:
- Set water temperature: According to desired doneness (see temperature chart).
- Prepare steak: Season and vacuum seal.
- Cook: Submerge in water bath for 1-4 hours (1-inch steak: 1 hour; 2-inch steak: 3 hours).
- Sear: Remove from bag, pat thoroughly dry, then sear in screaming hot pan for 30-60 seconds per side.
Recommended Temperatures:
- Rare: 120°F (49°C)
- Medium-Rare: 129°F (54°C)
- Medium: 135°F (57°C)
- Medium-Well: 145°F (63°C)
- Well-Done: 156°F (69°C)

Broiling
Broiling is an excellent indoor option when you want results similar to grilling.
Process:
- Position rack: Place oven rack 3-4 inches from broiler.
- Preheat broiler: Allow to heat fully (5-10 minutes).
- Prepare pan: Use a broiler-safe pan or cast-iron skillet.
- Cook: Broil 3-4 minutes per side for 1-inch steaks.
- Monitor closely: Broilers vary greatly in temperature; watch carefully to prevent burning.
Steak Doneness
Achieving your preferred doneness consistently is the mark of a true steak master.
Internal Temperature Guide:
| Doneness | Remove at | Final Temp | Appearance | Texture |
|---|---|---|---|---|
| Rare | 120°F | 125°F | Red center, cool | Soft, tender |
| Medium-Rare | 130°F | 135°F | Red center, warm | Tender, juicy |
| Medium | 140°F | 145°F | Pink center, hot | Slightly firm |
| Medium-Well | 150°F | 155°F | Slight pink | Firm |
| Well-Done | 160°F | 165°F | Brown throughout | Firm, less juicy |
Carryover Cooking
Remember that steak temperature will continue to rise 5-10°F during resting due to carryover cooking. This phenomenon occurs as residual heat from the exterior continues moving toward the meat’s center.
Factors affecting carryover:
- Thickness of steak (Thicker cuts experience more carryover)
- Cooking temperature (higher heat creates more carryover)
- Resting environment (warmer environments increase carryover)
Resting the Steak
Resting isn’t optional—it’s essential for maximizing juiciness and flavor.
Why Rest? During cooking, muscle fibers contract and push juices toward the center of the steak. Resting allows these fibers to relax and reabsorb juices, preventing them from spilling out when the meat is cut.
Recommended Resting Times:
- Thin steaks (½-¾ inch): 5 minutes
- Medium steaks (1-1½ inch): 7-10 minutes
- Thick steaks (1½-2 inch): 10-15 minutes
Pro Tip: Tent loosely with foil to retain some heat without trapping steam that would soften your perfect crust.
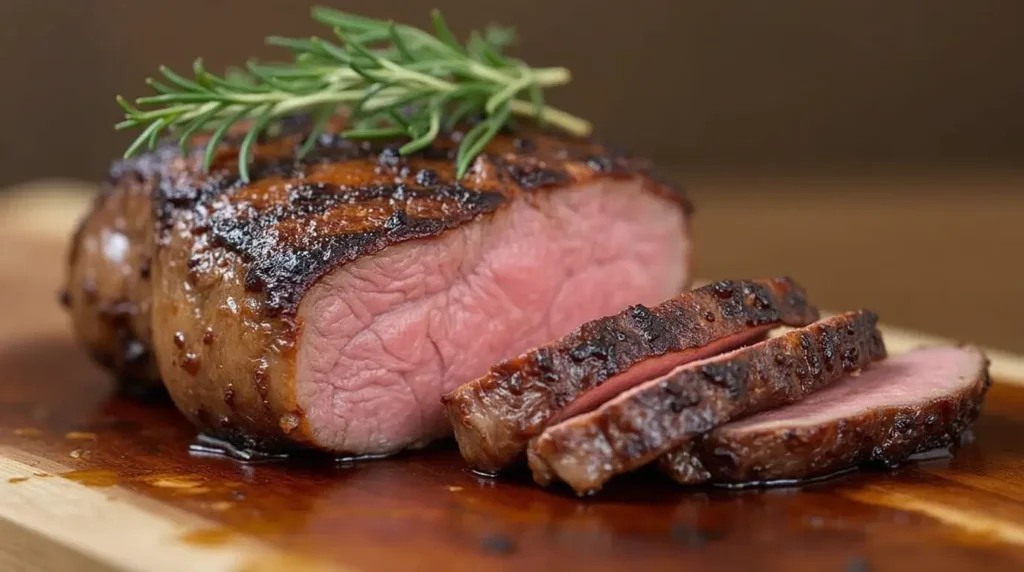
Slicing and Serving
How you cut your steak affects its texture and eating experience.
Slicing Guidelines:
- Identify the grain: Look for the direction of the muscle fibers.
- Cut perpendicular: Slice across the grain, not parallel to it.
- Use a sharp knife: Clean, thin slices preserve juiciness.
- Slice at an angle: For wider, more impressive slices.
Serving Suggestions:
- Classical Accompaniments: Compound butter, bearnaise sauce, chimichurri
- Side Dishes: Roasted potatoes, grilled asparagus, creamed spinach
- Wine Pairings: Bold reds like Cabernet Sauvignon or Malbec
Troubleshooting
Even experienced cooks encounter challenges. Here’s how to address common stakeholder issues:
Overcooked Steak
- Cause: Inaccurate temperature reading, excessive carryover cooking
- Solution: Use a reliable meat thermometer and account for carryover cooking
- Prevention: Remove steak 5-10°F before target temperature
Undercooked Steak
- Cause: Cooking from cold, inconsistent heat, inaccurate thermometer
- Solution: Return to heat briefly, using a lower temperature to avoid overcooking the exterior
- Prevention: Allow steak to come to room temperature before cooking
Tough Steak
- Cause: Poor quality cut, overcooked, improper slicing
- Solution: Slice thinly against the grain to minimize toughness
- Prevention: Choose well-marbled cuts, and avoid overcooking
Lack of Sear
- Cause: Moist surface, pan not hot enough, overcrowded pan
- Solution: Pat dry thoroughly, preheat the pan fully, and cook one steak at a time
- Prevention: Follow proper preparation steps, especially drying
FAQ Section
Q: Should I buy my steak from a butcher or the supermarket? A: While good steaks can be found at supermarkets, specialty butchers typically offer higher quality, better-trimmed cuts, and knowledgeable advice for your specific needs.
Q: How thick should my steak be? A: For most cooking methods, 1½ inches is ideal. Thinner steaks cook too quickly and are easy to overcook, while thicker steaks require special techniques like reverse searing.
Q: Do I need to use a meat thermometer? A: Yes! Even professional chefs use thermometers. The “finger test” and other manual methods are unreliable compared to an instant-read thermometer.
Q: Which cooking method is best for beginners? A: Pan searing is most accessible, while reverse searing is most forgiving and consistent.
What’s your favorite way to cook steak? Share your experiences and questions in the comments below!
Have you given our recipe a try?
There are no reviews yet. Be the first one to write one.
