

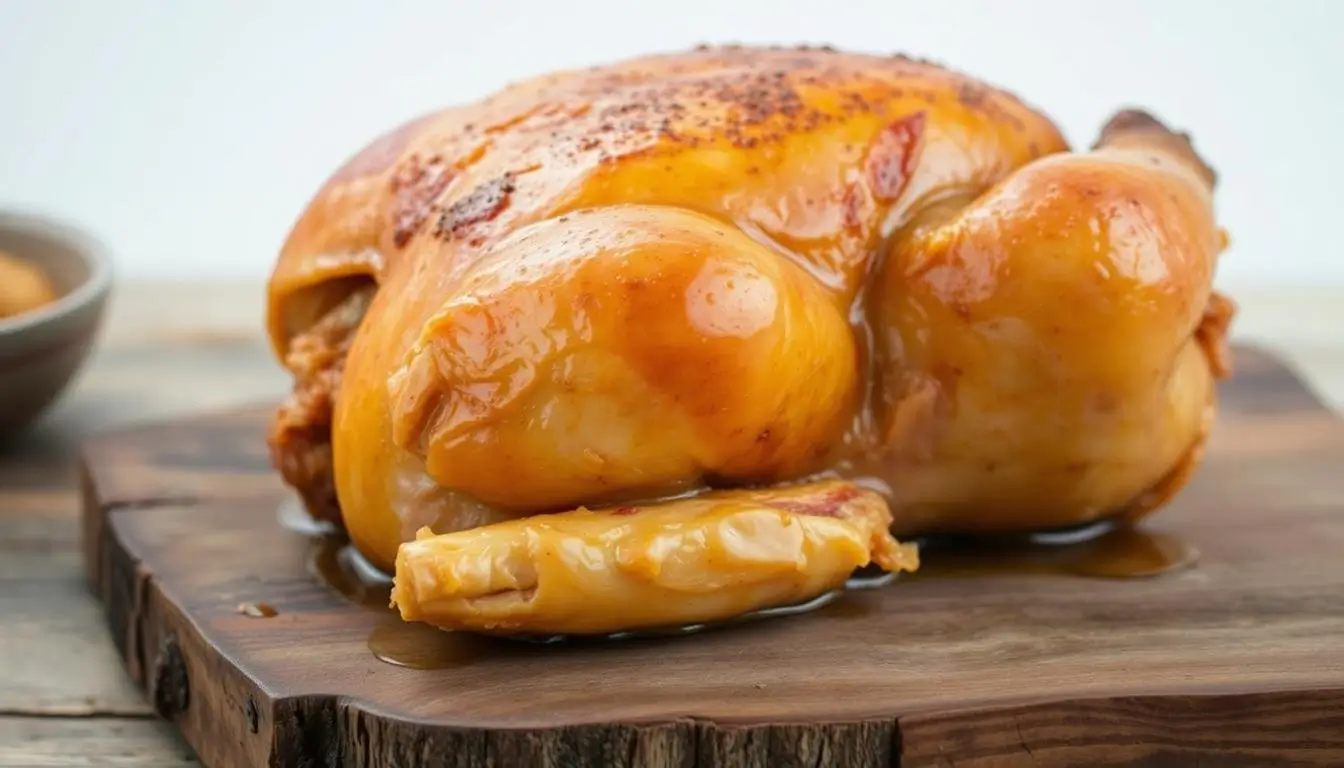
Perfect Brined Chicken: A Foolproof Flavor Boost
Imagine biting into a juicy chicken breast with crispy, flavorful skin. This is what brining can do for your chicken. By using a simple brine recipe, you can make your chicken dishes amazing. No matter your skill level, mastering bringing will wow everyone.
A great brine recipe and a little patience create juicy, flavorful chicken. In this article, you’ll learn bringing fundamentals. Discover the science, debunk myths, and gather essentials for bringing. We’ll show you how to make perfect brined chicken, from the basic brine to adding extra flavors.
Table of Contents
Key Takeaways
- Brining is an easy yet powerful way to enhance chicken flavor and texture
- A basic brine recipe consists of 4 cups water ¼ cup salt and ¼ cup sugar
- The brining process can be customized with various flavor enhancers, such as citrus and herbs
- To get crispy skin, always rinse and dry your chicken properly
- The recommended brining time varies depending on the type of chicken, from 1-2 hours for chicken breasts to 8-12 hours for whole chicken
- Understanding the brining process and using the right equipment can make all the difference in the quality of your brined chicken
- With a little practice, you can master the art of bringing and creating deliciously flavorful chicken dishes
Understanding the Magic of Brined Chicken
Exploring brining opens up a world of flavor for chicken dishes. It works by using osmosis to break down proteins and keep meat moist. This technique can make your chicken dishes incredibly tender and juicy.
Brining lets you tailor the flavor to your liking. You can add herbs and spices to the brine for unique tastes. It also makes chicken lower in sodium by using less salt.
But, there are myths about bringing that need clearing up. Many believe bringing chicken is a lengthy process. But, with the right ingredients, you can brine chicken in under an hour.
Here are some important bringing tips:
- Use 1/4 cup of salt for every 1 cup of water.
- Brine chicken for 30 minutes to 24 hours for best results.
- Customize the brine with herbs and spices for unique flavors.
Knowing the science behind bringing and debunking myths can help you make amazing chicken dishes. Brining has great benefits, no matter your experience level. With the right ingredients and techniques, you’ll impress everyone with your cooking.
Essentials Equipment for Perfect Brining
Proper tools make all the difference in bringing success. Web sources agree that quality essential tools are crucial. A spacious, lidded container like a food-grade bucket or steel pot is a must.
Have a whisk, measuring cup, and spoon ready for mixing. A rack or tray helps ensure the meat stays beneath the brine. A thermometer ensures the right brine temperature, while gloves help with safety.
Take bringing to the next level with an injector or pump. These tools help spread the brine evenly. With the right essential tools and practice, you’ll make delicious, perfectly brined meats. They’ll impress everyone at your gatherings.
Look for brands like Cuisinart, KitchenAid, and Anolon for quality brining equipment. Research and reviews help you choose the right tools for your budget.
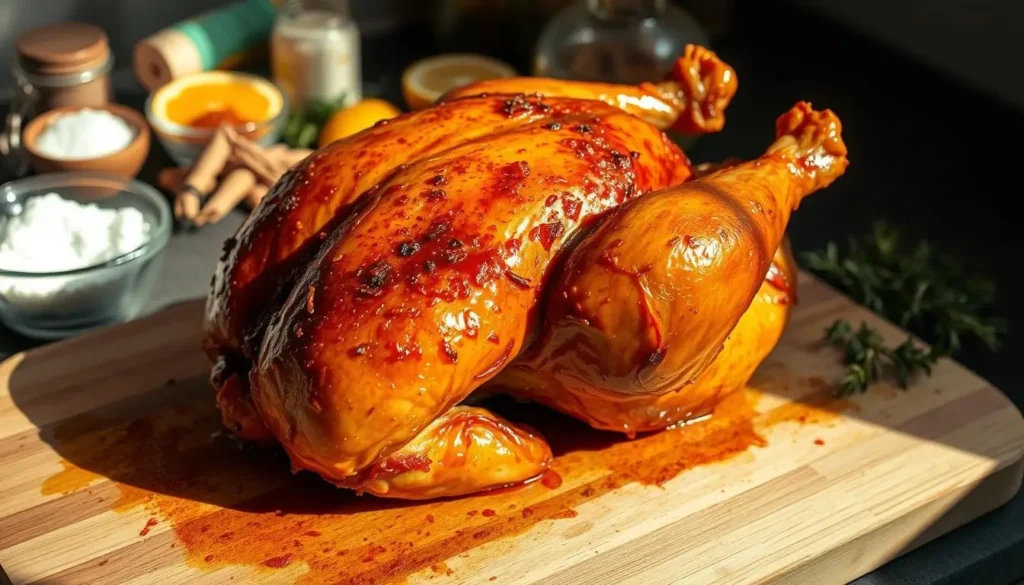
The Basic Brine Recipe for Chicken
Moist and delicious chicken starts with a well-made brine. It should have water, salt, and flavor enhancers like soy sauce, sugar, and olive oil. The right balance of salt and water ensures juicy, tasty chicken.
Always choose a non-reactive pot, such as stainless steel or enamel. This prevents harmful chemicals from touching the chicken. This recipe yields 8 cups of brine, suitable for a 3-5 pound chicken. Modify the brine quantity according to the size and cut of your chicken.
Key Ingredients and Their Roles
The basic brine recipe includes:
- Water: keeps the chicken moist and tender
- Salt: adds flavor and helps retain moisture
- Soy sauce: brings a rich, savory taste
- Sugar: helps with browning and adds sweetness
- Olive oil: ensures the meat stays moist and tender
Storage Container Selection and Brining Time
A stainless steel or enameled pot is ideal for safe, nonreactive brining. Brining time varies by chicken type and size. For best results, brine skinless breasts for 2 hours, bone-in cuts for 4 hours, and whole chickens overnight. Aim for 4-6 hours to bring the best results.
Step-by-Step Brining Process
Achieving the perfect brine requires following some essential steps. These steps include preparing the brine, bringing the chicken, and storing it. By doing these steps right, your chicken will be ready for cooking.
First, you need to prepare everything. This means getting water, salt, and any extra flavorings you want. The salt-to-water ratio is important. Use 1 cup of kosher salt for each gallon of water as a general guideline. After mixing the brine, add the chicken. Make sure the chicken is fully covered by the brine.
How long you brine varies based on the cut of chicken and the desired taste. Brine whole chickens for 2-3 hours at room temperature or 4-6 hours when refrigerated. Boneless, skinless breasts take 30 minutes at room temperature or 1-2 hours in the fridge. Keep an eye on the chicken to avoid too much salt or bad flavors.
After brining, rinse the chicken with cold water to remove extra salt. Once brined, your chicken is ready to be grilled, roasted, or sautéed. The secret to great brining is to do each step carefully before moving on.
By following these steps and using the right techniques, you can make delicious, flavorful chicken. Whether you’re experienced or new to cooking, brining is a valuable skill. With practice, you’ll get better at bringing and improving your chicken dishes.
Flavor Variations for Your Brined Chicken
Bringing chicken opens up a world of flavor possibilities. You can try herb-infused brines like rosemary and thyme for a savory taste. Or, go for spicy brines with chili flakes and garlic for a bold kick.
For a sweeter taste, add honey or brown sugar to your brine. This balances the saltiness and adds depth. You can also try lemon and herbs, Asian-style with soy sauce and ginger, or Indian-inspired with cumin and coriander.
- Herb-infused brines with rosemary, thyme, or parsley
- Spicy brine combinations with chili flakes, garlic, or paprika
- Try a mix of sweet and savory elements using honey, brown sugar, or maple syrup
Remember, the secret to amazing flavors is to experiment and have fun. Experiment with different ingredients to create your ideal brined chicken flavor.
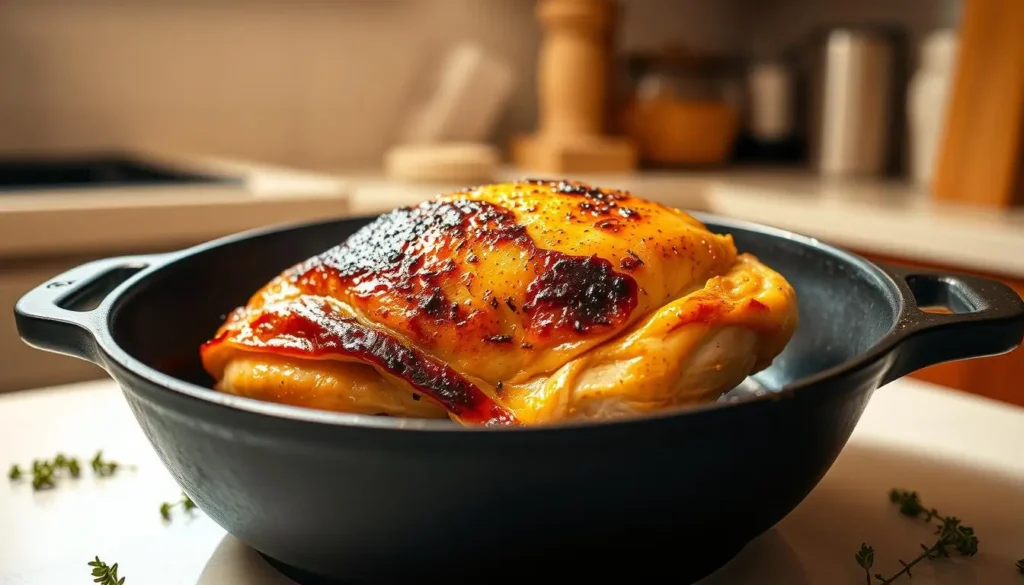
Cooking Your Brined Chicken
There are many ways to cook brined chicken, like grilling, roasting, or pan-frying. Pick a cooking technique that enhances your brine’s flavors. For instance, if your brine is sweet and savory, grilling or pan-frying can make the sugars caramelize and boost the taste.
Some popular cooking methods for brined chicken include:
- For a smoky taste and crisp texture, grilling is the best option.
- Roasting: Roasting is a great way to cook brined chicken, as it allows the chicken to cook evenly and retain its moisture.
- Pan-frying: Pan-frying is a good option if you want to add a crispy crust to the chicken while still retaining its juicy interior.
No matter how you cook it, always ensure the chicken reaches a safe temperature. Use a meat thermometer to check. The internal temperature should be 165°F (74°C) for breast meat and 180°F (82°C) for thigh meat.
Try different cooking methods to find your favorite way to brine chicken. You can also add herbs and spices during cooking to make the dish even tastier. You can make a delicious and memorable meal by choosing the right cooking method and flavors.
Common Brining Mistakes to Avoid
Brining can go wrong if you’re not careful. To get the best-brined chicken, you need to know what to avoid. One big mistake is temperature control. If it’s off, you could get sick or have chicken that tastes uneven.
Another mistake is over-brining. This makes the chicken too salty or soft. To avoid this, watch how long you brine. Use the right amount of salt and rinse the chicken well afterward.
Here are some more tips to help you:
- Use a non-reactive container, like plastic or glass, to keep flavors right.
- Always store brining chicken at or below 40°F for food safety.
- Don’t pack the container too full. It may disrupt the brining process and raise the risk of contamination.
By knowing these mistakes and how to avoid them, you can make delicious, moist chicken. Always focus on temperature control and watch the brining time to prevent over-brining and other mistakes.
Advanced Brining Techniques
Once you get the hang of basic brining, you can dive into advanced techniques. These can elevate your chicken game. Adjusting the salt ratio or incorporating flavor boosters can enhance the taste. A mix of kosher salt and brown sugar results in a sweet, flavorful crust.
Try combining hot and cold brining for a richer flavor and juicier texture. Start with a hot brine for a short time, then switch to a cold brine. This method adds depth to the chicken’s taste. You can also play with citrus fruits, herbs, and spices to create unique flavors.
Other advanced bringing methods include:
* Using a brine with more salt for a bolder taste
* Adding onions and garlic to the brine for extra flavor
* Soaking the chicken in brine for 24 hours maximizes moisture and flavor
* Trying out sea salt or Himalayan pink salt adds unique flavors to the brine
By using these advanced brining techniques and expert tips, you can make your brined chicken truly exceptional. You’ll be able to create dishes that rival those from top restaurants right in your own kitchen.
Food Safety Guidelines for Brining
Following food safety guidelines is key when bringing. It’s important to control temperatures, meet storage needs, and prevent cross-contamination. According to the FDA, meat should not sit at room temperature for more than two hours. But, if it’s over 90°F, it’s just one hour.
It’s essential to maintain a low temperature while brining. It should be below 40°F. Also, make sure to store your brined chicken in a covered container in the fridge. It should be at 40°F or below.
- Always handle and store brined chicken safely to prevent cross-contamination
- To reduce food safety risks, avoid mixing raw and cooked meats
- Label and date your brined chicken to ensure you use the oldest products first
By sticking to these guidelines, you can make sure your bringing is safe and healthy. Always put food safety first when dealing with your brined chicken.
Conclusion: Mastering the Art of Brined Chicken
Becoming skilled at bringing chicken takes dedication. By using the tips from this article, you’ll make delicious chicken. The right combination of salt, sugar, and water is crucial for bringing success.
When mastering brined chicken, remember to use the right salt, sugar, and water. Try different flavors to make your chicken stand out. The ideal brining time for chicken breasts ranges from 30 minutes to 4 hours. Make sure they’re fully covered in the brine.
Here are some extra tips for mastering the art of brined chicken:
- Use ¼ cup of kosher salt per every 4 cups of water for brining chicken
- Brine chicken breasts for 1-2 hours, while whole chickens can be brined for up to 4 hours
- Rest the brined chicken breasts for a few minutes after grilling to redistribute juices within the meat
- Try different seasonings, such as smoked paprika or cumin, to enhance flavor
Use these guidelines to perfect your brined chicken. It’s a journey, but with practice, you’ll get better. Before long, you’ll master the art of making flavorful brined chicken.
Additional Resources
Plenty of resources are available for those eager to learn more about bringing chicken. You can find articles that explain the science behind bringing. There are also recipe collections with new and exciting flavors to try.
Looking to grow your cooking skills? Explore cookbooks such as The Food Lab for expert brining advice. Kenji López-Alt or “The Flavor Bible” by Karen Page and Andrew Dornenburg. These books are full of knowledge and tips to help you get better at bringing chicken and more.
Don’t forget to look online for more help. There are food blogs, recipe websites, and video tutorials to explore. They offer great advice, tips, and ideas to improve your brined chicken dishes. Consistent practice and good advice will help you perfect brined chicken.
FAQ
What is brining and how does it work?
What are the benefits of brining chicken?
What equipment is needed for brining chicken?
What is the ideal salt-to-water ratio for brining chicken?
Can I add other ingredients to the brine?
How long should I brine chicken?
What are some common mistakes to avoid when brining chicken?
How do I cook brined chicken?
How do I store brined chicken?
Have you given our recipe a try?
There are no reviews yet. Be the first one to write one.
